
Hardware setup \ Troubleshooting
Step 1
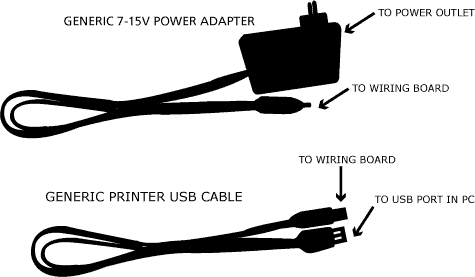
What's needed? The brand new Wiring I/O board, a generic USB printer cable to connect to the board to a computer and an external generic power adapter (optional, the board can also be powered from the USB cable).
Step 2
Set the power jumper on the board accordingly. The wiring I/O board can be powered from an external generic power adapter that provides voltage from 7-15 Volts, 500-1000mA, center positive; or it can be powered directly from the USB port of a computer. Powering from the USB will fine for small experiments, but consider getting a power supply for connecting several devices to the board or high loads like servo motors. By default the power jumper is on the USB side for powering from the USB.

Step 3
Plug the board to the USB cable and then to the PC, the green power LED on the board should come ON immediately. Now you are ready to go. By default a small program that blinks the amber LED on the board is loaded, so you should be able to see the amber LED blinking a few seconds after powering your board. Now it is time to continue with the software Setup process.