
Uploading a new program to the Wiring hardware
Step 1
Make sure you have done successfully the Wiring hardware installation and software Install process with special attention to steps 3 and 5, these steps might have to be repeated after changing the USB port used by the Wiring hardware or using a new board.
Step 2
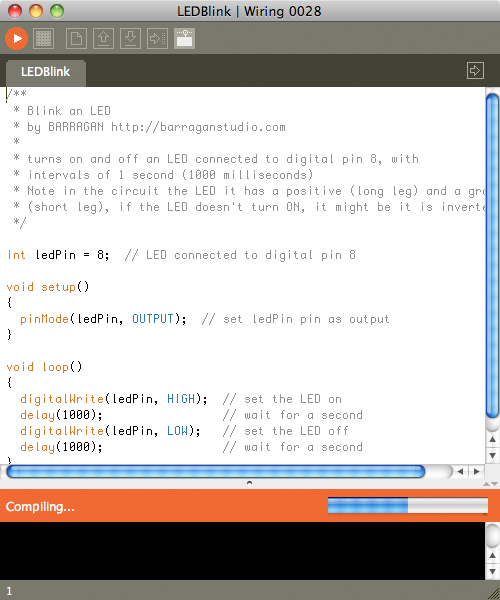
Verify your program is free of compiling errors by pressing the Compile/Verify button in the menu bar.
Step 3
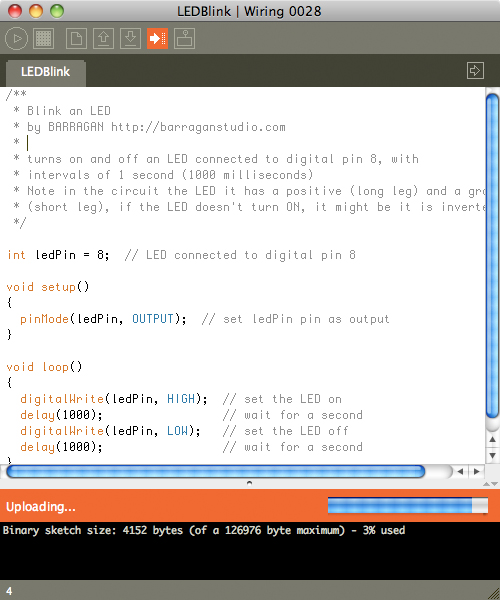
Press the Upload button in the menu bar. In case of syntax errors the Wiring environment will print the error messages otherwise it will print the Upload was completed successfully, the uploading process triggers activity in the Rx/Tx LEDs on the Wiring hardware. The new program will start automatically after uploading.
That's all for uploading.
Note for boards distributed from 2004-2008: boards previous to hardware revision 0004 require a manual RESET right before pressing the Upload button in the Wiring development environment. After the upload is complete another manual reset is required for the Wiring hardware to start executing the new program. The hardware revision is printed on the board under the Wiring logo. From hardware revision 0004 and newer boards the software upload and board restart is automatic when pressing the upload button in the Wiring environment. See the diagrams below.
Press the reset button in the Wiring hardware and immediately press the Upload button in the menu bar. If something goes wrong the Wiring environment will print an error message. If things are fine it will tell you the Upload was successful.
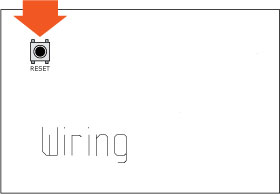
After a successful upload press the RESET button on the Wiring hardware to restart the new program uploaded. It takes from 5 to 7 seconds for your program to start after resetting the board.
