
Interfacing the Wiring hardware and Blender/Phyton
This tutorial introduces the basic interfacing between the Wiring hardware and Blender/Phyton http://www.blender.org/. The brief for the tutorial will be to read simple values from the Wiring board. It assumes the Wiring software and Blender/Phyton are installed and the proper Wiring setup has been previously completed. For more Information on Wiring install check out the tutorials about Wiring installation and software setup.
This tutorial is based on the tutorial made by Simon Blackmore wich can be found it here
Note: This tutorial have been proved it using Blender 2.49 which can be downloaded from here and Phyton 2.5 wich can be downloaded from here.
Step 1
Copy and paste the following code on the Wiring editor: Verify your program is free of compiling errors by pressing the Compile/Verify button in the menu bar. Press the Upload button in the menu bar. In case of syntax errors the Wiring environment will print the error messages otherwise it will print the Upload was completed successfully, the uploading process triggers activity in the Rx/Tx LEDs on the Wiring hardware. The new program will start automatically after uploading. Use the Serial Monitor button to watch the data coming from the Wiring board, then close the Serial Monitor again.
/**
 * Photoresistor / Blender/Python

 *
 * Reads values from a photoresistor connected to the
 * analog input pin 0. The value read from the sensor is proportional
 * to the amount of light that hits the sensor surface.
 * The value read is printed through the serial to be monitored
 * in the console or received on Blender
 */

int val;

void setup()
{
  Serial.begin(9600);      // sets the serial port to 9600
}

void loop()
{
  val = analogRead(0);     // read analog input pin 0
  Serial.println(val/4, BYTE);  // prints the value read from the
                               // sensor in analog pin 0 divided by 4 (range 0-255)
  delay(200);                  // wait 200ms for next reading
}
Paso 2
Download PySerial here. Uncompress the file and placed the folder "serial" with the other Python libraries for Blender.
Step 3
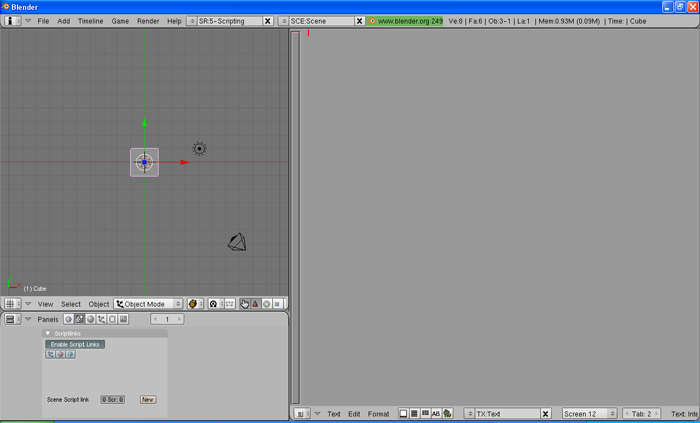
Next step is to setup things in Blender. Setup the interface to "Scripting" mode.
Step 4
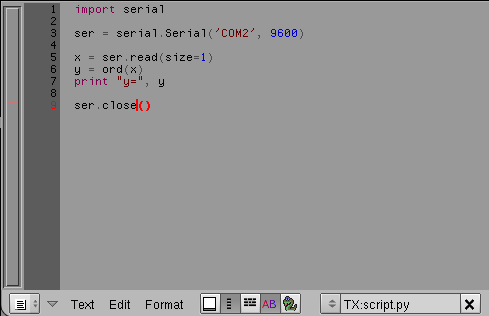
Copy the following code in the editor and name it "script.py".
import serial
# you will need the name of your serial port
# check in wiring - tools - menu
ser = serial.Serial('COM2', 9600)

x = ser.read(size=1)
y = ord(x)
print "y=", y

ser.close()
Step 5
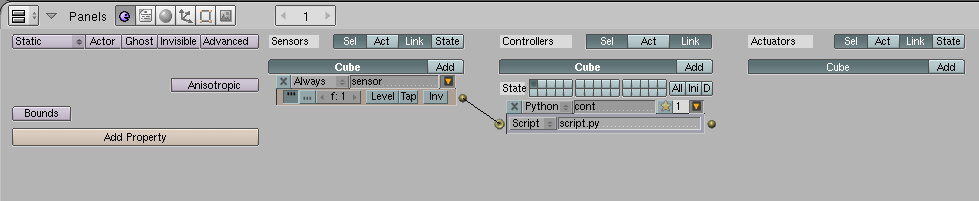
Attach an object. Select any object in the scene and click on its logic properties in the “Buttons Window”.
Add an always sensor and link it to the python script. This should mean the python script will be executed when the game engine is running. It should look like this:
Step 6
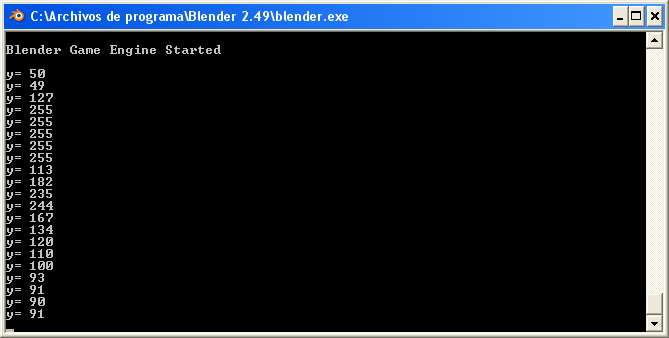
Run the game engine. Click in the '3D Panel' and just press 'P'. The '3D Panel' should now change into the game view and numbers from wiring should appear in the console window.
Next >> Sending data to the Wiring board from Blender/Python.