Wiring board setup \ Troubleshooting
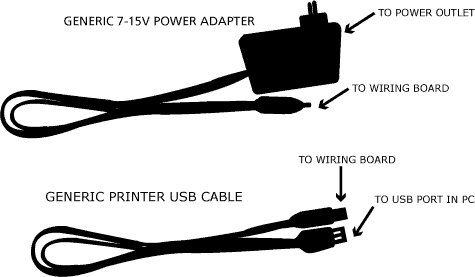
What's needed? The brand new Wiring I/O board, a generic USB printer cable to connect to the board to a computer and an external generic power adapter (optional, the board can also be powered from the USB cable). Plug the Wiring board to a USB port on a computer, the board will turn ON automatically lighting the on board POWER LED. By default a small program that blinks the amber LED on the board is loaded, so you should be able to see the amber LED blinking a few seconds after connecting the board.
That's it for hardware setup, proceed to Install the Wiring software or Upload new programs into the Wiring board.
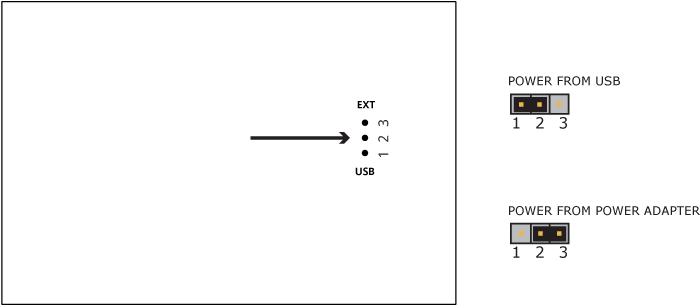
Powering the board: The Wiring boards have a power setup jumper (Except the Sparkfun version). The Wiring I/O board can be powered from an external generic power adapter that provides voltage from 7-12 Volts, 500-1000mA, center positive; or it can be powered directly from the USB port of a computer. Powering from the USB will fine for small experiments, but consider getting a power supply for connecting several devices to the board or high loads like servos or DC motors. By default the power jumper is on the USB side for powering from the USB.